1. Start with a video from your computer
Most reels start with something you already have: a phone recording, a Zoom call, a screen capture, a clip from a show. On the start page:
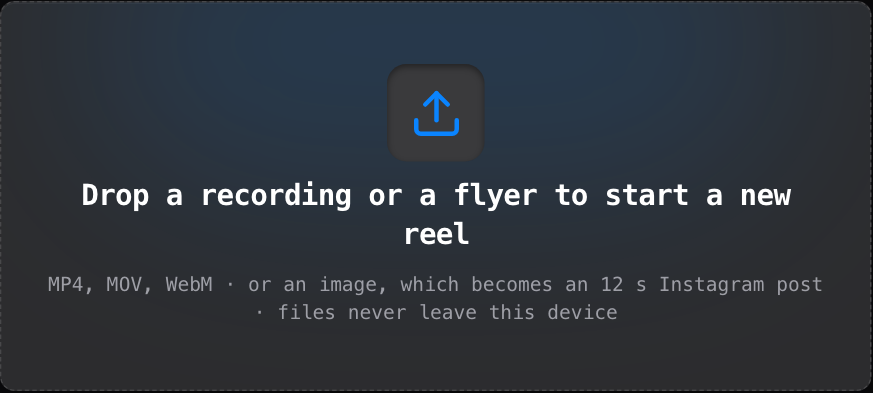
- Drag the file onto the big box that says “Drop a recording or a flyer”, or click the box and pick the file. MP4, MOV and WebM all work, so videos straight off an iPhone or Android phone are fine. You can drop several at once and they line up one after another.
- The box shows “Reading” and then “Analysing audio and frames” for a few seconds (longer for a big file). The editor then opens on its own. The file is copied into your browser's storage, not uploaded anywhere.
- A flyer or poster instead of a video? Drop the image. It becomes a 12-second Instagram post (4:5 frame) that you can put music and text on. Add a song and the picture stays on screen for the whole song, however long it is.
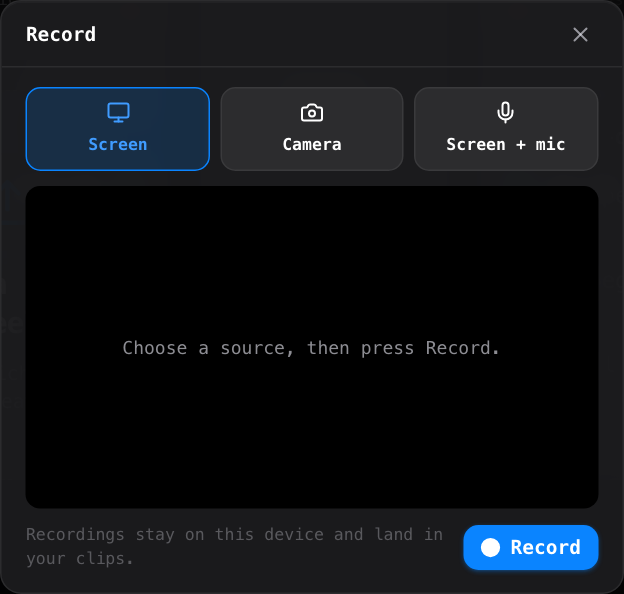
No file yet? Record one. Click Record next to New project and choose Screen, Camera or Screen + mic. Allow the browser's permission prompt, press the red button, press Stop, and the recording lands in the editor as a new project.
Adding more clips later. Inside the editor, click Import clips at the top right, or open the Clips tool and use “Add video or image files”. New clips go on the end of the timeline; drag them to reorder.
Storage: the start page's “Local storage” line shows how much room your browser has. A 20-minute 1080p phone video is roughly 1 to 3 GB. Clearing the browser's site data deletes projects, so use Backup on a project card (a .nocap file) before you do that or when you move to another computer.
2. Or start from a YouTube or Instagram link
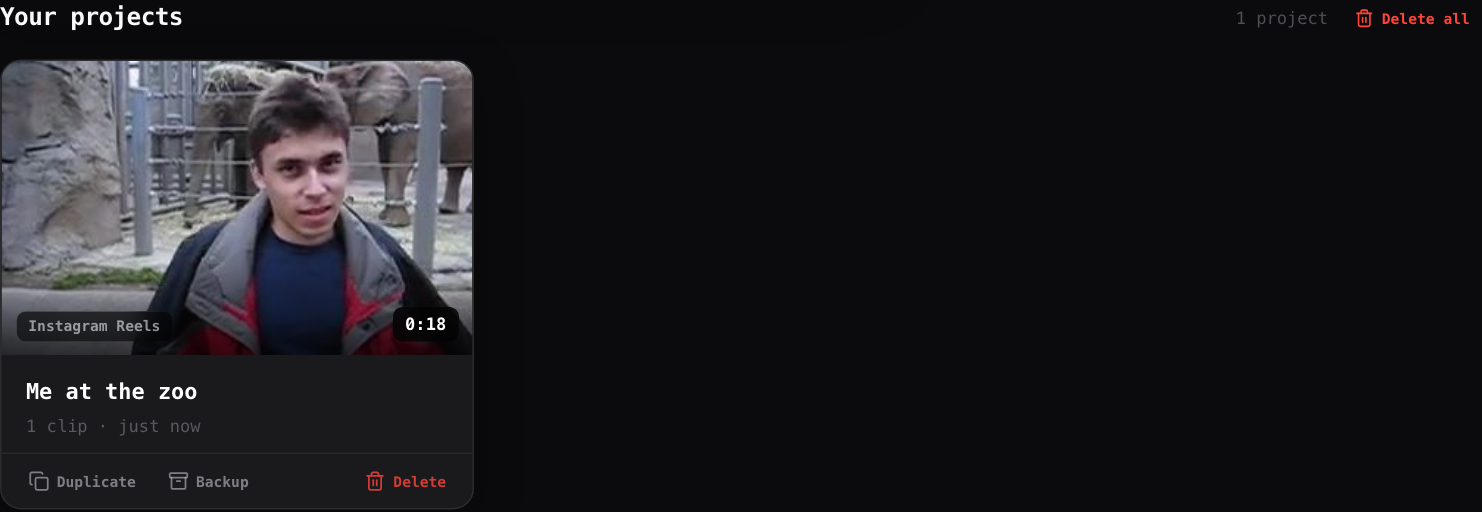
Copy the video's address from YouTube (Share, then Copy), or a Reel's link from Instagram (the paper-plane Share button, then Copy link). Paste it into the box at the top of the start page, or tap Paste inside the box, and press Download. A green line under the box confirms what was recognised. For a YouTube video you can pick a quality next to the MP4 toggle (1080p is the default); a Reel comes at its full size. While it downloads, a blue progress block takes the box's place, and when it lands the MP4 is saved to your Downloads folder and a green Done line points you to the new project under Your projects, named after the video. The first paste after a quiet spell can take about a minute while the helper wakes up. Only want the sound from a YouTube video? Switch the small MP4 | MP3 toggle under the box to MP3 before pressing Download: the audio is saved to your Downloads folder and also becomes a project under Your projects: open it, add a picture in Clips, and the picture is held on screen for the whole song. Instagram Reels always come out as MP4; MP3 is for YouTube links only. If your browser asks where to save every file, click Choose a folder once under the box (desktop Chrome and Edge) and pick a folder, for example a new one inside Downloads called NoCap Edit: from then on finished files go straight into it with no dialog. Use Downloads switches back.

Only download videos you have the right to use: your own, or for private editing practice.
3. Open and edit
Click the project's card (the picture or the title) to open the editor. The tools run down the left side: Clips, Trim, Subtitles, Style, Text, Picture, Music, Reels, Export. Everything autosaves to this browser, so you can close the tab and come back later. To keep a version you may want back, open Project then Saved versions, give it a name and save; going back to it later keeps what you had too.
A good order for a long landscape video: Reels to cut out the best moments, then Subtitles and Style on each reel, then Export.
4. Reels: let the AI pick the best moments
The Reels panel reads the transcript of your video, picks the moments that stand on their own, and cuts each one into its own 9:16 reel with captions. Each reel becomes a separate project under Your projects.
- Click the Reels tool (the pink clapperboard).
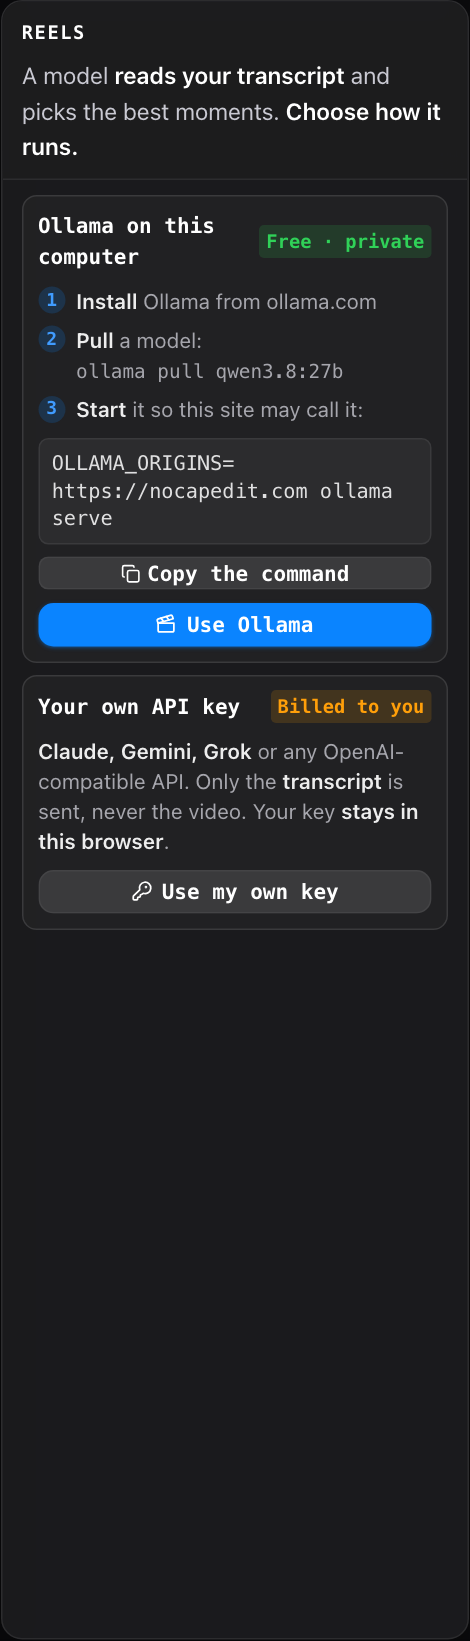
- The first time, the panel asks how the model should run. Click Use my own key. (The other choice, Ollama, runs a model on your own computer: free and private, but slower and it needs installing.)
- Under Provider choose Google (Gemini).
- Paste your Google AI Studio key into the key box (how to get one is the next section) (it is stored in your browser as you type) and click Check key. That tests the key with Google and lists the models it can use; a green Key verified appears when it works.
- In Model pick the newest Flash model, for example
gemini-3.8-flash. Flash is fast, cheap and good at judging which bits work alone. The Pro models are slower and not better at this. - Click Make reels. If the video has no subtitles yet, the panel makes them first and then cuts the reels, all from that one click (Whisper runs on your device; the first run downloads the model and takes a few minutes).
- Each reel shows up in the list with a score out of 10 and a title. Open one, tweak it, export it.
First visit: pick how the model runs.
Then: provider, model, key, Make reels.
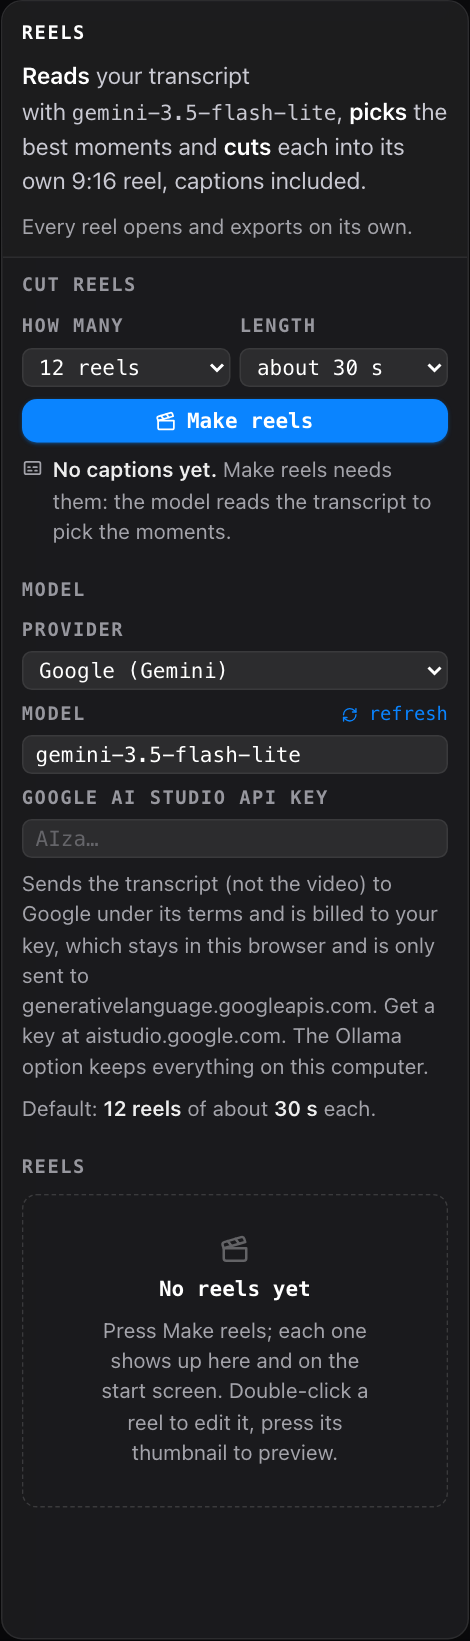
Your key stays in this browser. Only the transcript, not the video, is sent to Google. If the picks look off, run Make reels again; each run can differ a little.
5. Get a free Google AI Studio key
Google AI Studio hands out API keys for Gemini with a free tier that is enough for this. It takes about a minute.
- Go to aistudio.google.com/api-keys and sign in with any Google account.
- Click Create API key at the top right. If it asks for a project, accept the default one it offers.
- Copy the key it shows (a long string of letters and numbers). You can come back to this page any time to copy it again.
- Back in NoCap Edit, paste it into the Reels panel's key box and click Check key.

The key's row on that page says Free tier. Leave it like that. You don't need to click “Set up billing” for this.
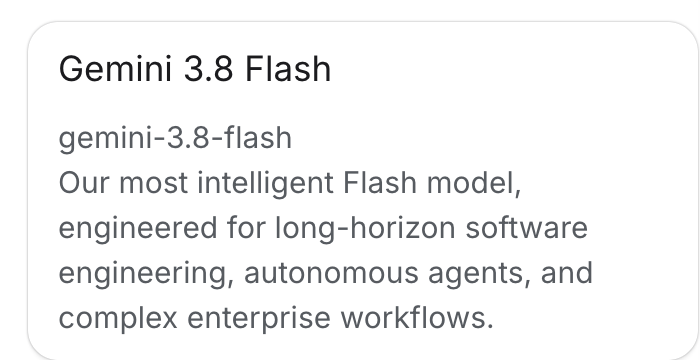
The model names in AI Studio match what the Reels panel lists after you click Check key, so pick the newest Flash you see there.
6. What it costs
- NoCap Edit: free. No account, no plan. Captions, editing and export run on your own computer.
- The Google key: free tier, $0. Picking reels sends a few thousand words of transcript per run, which is tiny. On the free tier Google limits how many requests you can make per minute; if Make reels says you hit a limit, wait a minute and try again.
- You do not need any Google subscription. Google One storage plans (the $2.99 a month kind) and Gemini app plans are separate products and don't affect the API key either way.
- Prefer nothing leaving your computer? Choose Ollama on this computer as the provider instead. It's slower and needs Ollama installed, but no key and no cloud.
7. Export
Open the Export tool, keep the defaults (1080p, 30 fps, H.264) unless the platform asks for something else, and click Export video. The MP4 lands in your Downloads folder, ready to post to Reels, TikTok or Shorts. Long videos render in segments, so memory stays flat even for a 20-minute source.
Above the settings, Check before export reads the project and says what would go wrong: a file the browser lost (the export cannot run until you add it again), text or captions that run past the edge of the picture, fonts that did not load, or things that start after the video ends. Show me takes you to each one.
Under More ways to export: a GIF (up to 30 seconds), a transparent video of just the captions, text and stickers (WebM or ProRes MOV) to lay over footage, and an editor timeline, a zip with your cuts, music and captions for Final Cut Pro, Premiere Pro or DaVinci Resolve plus your original media. Unzip it, open the .fcpxml (Final Cut Pro, DaVinci Resolve) or the .xml (Premiere Pro), and use Relink if the editor asks where the media is.
Something not working? The start page lists what your browser supports. Chrome or Edge on a laptop gives the fastest captions (WebGPU) and exports (multi-threaded).